
Backcountry Skiing Fundamentals: Properly hydrating and layering for a day in the backcountry
/It is no secret that more individuals than ever will be ditching the resorts this winter and taking up backcountry skiing. Visions of chest deep powder amongst jagged snowcapped peaks in the solidarity of the high alpine is a major draw. Many newcomers to the sport are only vaguely aware of some of the risks involved in skiing off-piste in the backcountry and many will take an avalanche course. Students in a recreational level 1 avalanche course learn the basics about avalanche hazards, practice avalanche rescue and learn strategies to safely manage a group while skiing in the backcountry. Avalanche courses are considered a benchmark of safety standards for the backcountry skier and boarder.
If one plans to get the most out of an avalanche course, they should come into it familiar with some basic skills of backcountry skiing & boarding. Time on an avalanche course should be focused applying new knowledge of avalanche safety, not spending time learning how to use the equipment or layering techniques. Here, we will discuss some of the ”soft skills” of preparing for backcountry skiing, specifically hydrating a skier for a day of backcountry skiing and layering techniques used to keep them warm, dry and happy. Up ,and down, the mountain.
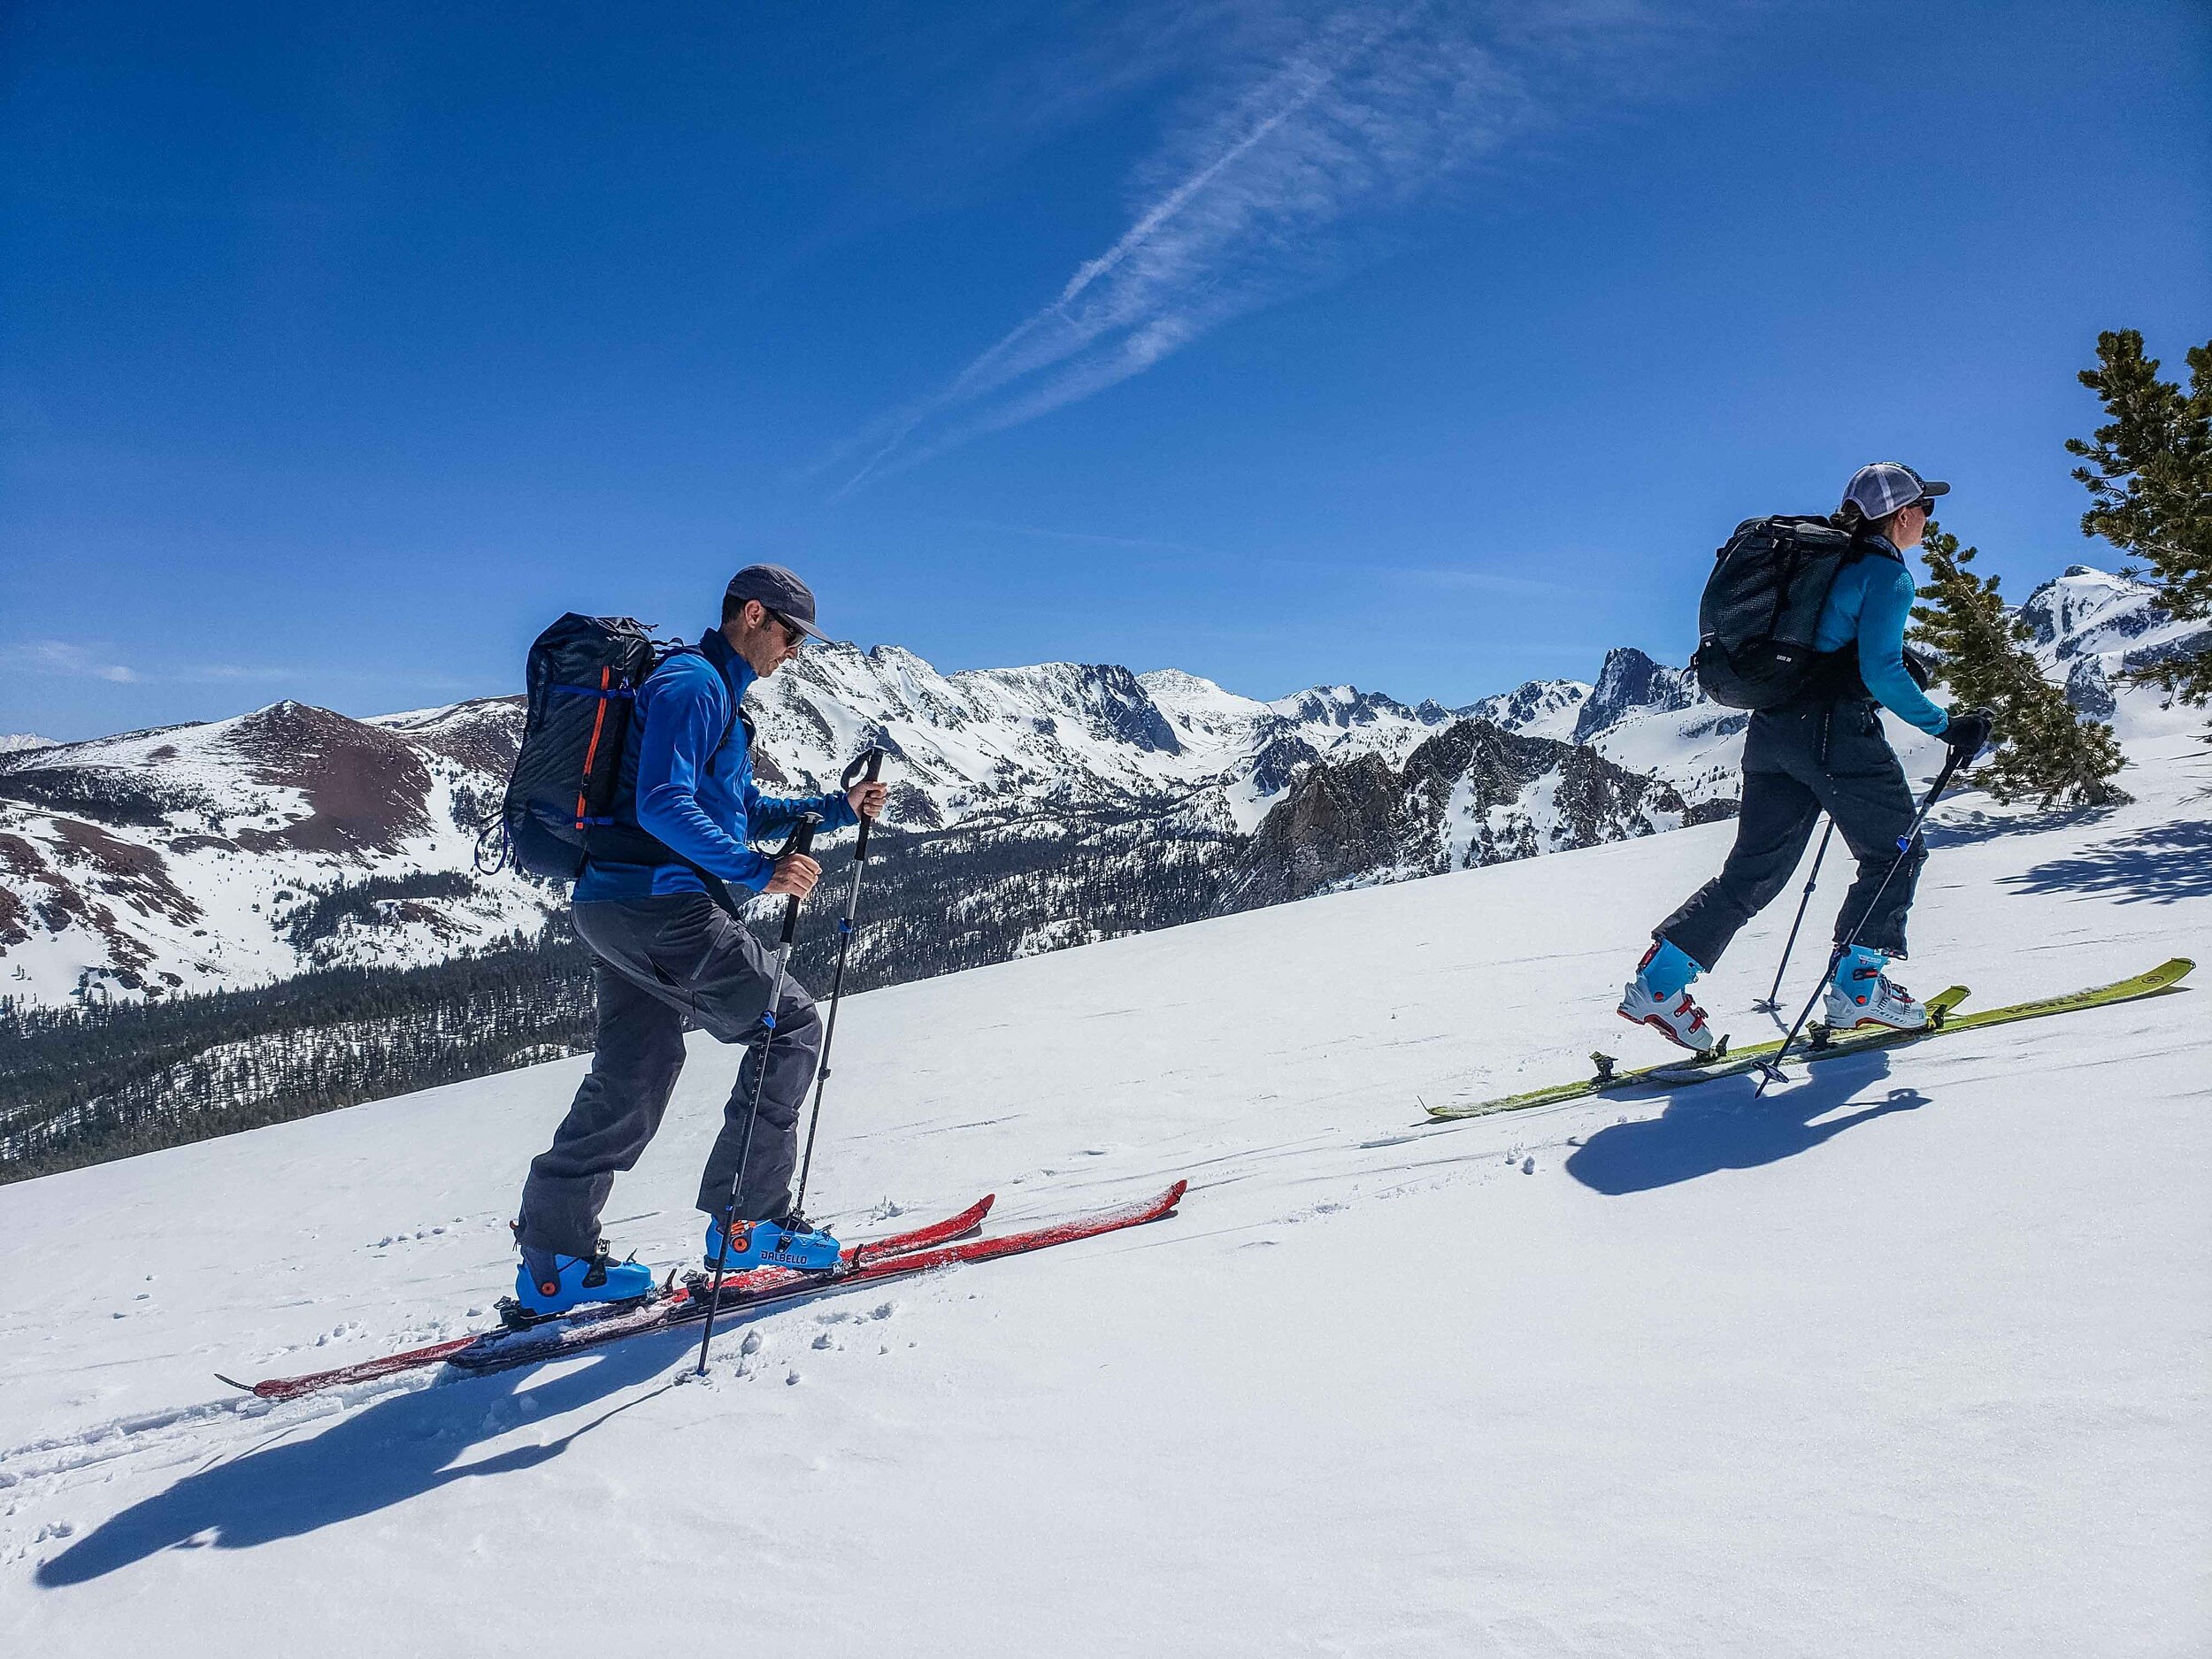
Ski touring in the backcountry
First and most importantly, make sure you have enough calories and liquids for the day of ski touring. North America is not known for its extensive backcountry ski chalets where one can pull over for a quick bite or a hot tea, one would need to travel to Europe for that sort of luxury. Backcountry ski touring is far more active than riding a chairlift. You will find yourself breaking trail and moving uphill at altitude, all while being exposed to the elements. Proper hydration and caloric consumption are key to comfort and happiness in the backcountry. On average, plan on having around 2 liters of liquid for a day tour, but may be adjusted based on weather conditions, proposed distance and vertical gain for a day and personal needs. This may be a mix of hot drinks such as coffee or tea, and water or some sort of hydration mix. Packing too much water for the day has a similar negative impact as not bringing enough as water is heavy. Some people spend thousands of dollars on lightening up their backcountry ski setup a few ounces with the idea of making the uphill easier, but then take no time to think about what they are putting in their pack and how much resistance this may add to the uphill.

The weight of your backcountry ski pack matters
Drinking from a hydration reservoir such as a Camelbak has become quite popular in recent years and has its advantages. The luxury of being able to take a sip whenever one desires is understandable, but I have found this to be an inefficient way to carry and consume water. Often individuals that use these systems are finished with their water for the day far too soon since its more challenging to monitor your consumption when its hidden somewhere in your ski pack. On cold backcountry days the hoses of these hydration systems can freeze, at a minimum causing a nuisance but also possibly rendering this system useless until heated. Additionally, then tend to leak at times and a leak of water into your pack is a quick way to impact your ski tour with wet layers.
Another critical skill of an efficient backcountry skier is how to appropriately layer their clothing. The jacket and pants you bought for the resort are not intended for a backcountry skiing. Many are heavily insulated to keep you cozy while sitting on a chairlift. The savvy backcountry skier will carry a variety of different layers and will adjust their system based on time of year, length and difficulty of the ski tour and forecasted conditions. Its important to understand before you head out on a backcountry ski tour that you are likely to spend much more time walking uphill than skiing down. Being appropriately dressed for hours of aerobic activity is important, but so is the ability to add layers for an exciting ski descent or with the rapidly changing conditions experienced in the alpine zone. Appropriate protection from the elements can also save your life if things do not go as planned.

Backcountry skiing layers
When layering, starting with a lightweight base layer next to the skin is nice for wicking moisture and keeping you warm while not cooking you on the uphill skin track. My ski pant decision generally depends on conditions as well. Consider wearing a softshell style pant.. These pants breath better than their waterproof counterparts, dry quickly and have good stretch for mobility. In drier, sunnier backcountry ski zones such as California or Colorado I am comfortable in a softshell most days. On colder, windier, wetter or deeper days, one may lean towards a non-insulated hard-shell style pant, ideally one with good venting zippers. Anything that is fully waterproof will breathe poorly, heating the skier up on the ascent which will quickly lead to perspiration that can chill you to the bone when you take break, or on the descent. A puffy highly insulated pant is a great layer to bring on overnight ski tours and on very cold day ski tours. I find myself wearing them during long transitions and lunch breaks, on colder descents or if my feet are feeling cold, they do a great job warming up the femoral artery and sends warm blood to the little piggies on my feet.
Warming the core is also another moving target depending on conditions in the back country. A effective layering system has some general themes, starting with a light weight next to skin layer. Next comes a warmer, wool or poly-pro insulating mid-layer, such as a Patagonia R1. These two layers are mainstays in my system and worn almost every day out backcountry skiing. On clear days, I will sandwich a sun hoody shirt between these layers to limit exposure to the sun. Layers on top of these are interchangeable but will likely include an insulating vest or synthetic lightweight puffy, softshell jacket, or a waterproof storm-shell. A critical layer that should always be in the pack is a warm down puffy jacket with a hood. I will put this on this during breaks longer than a minute of two to maintain any heat I have generated while motoring up the skin track.

Hats and gloves for back country skiing
Critical accessories include ski gloves, hats and ski goggles. A variety of ski gloves can be useful. At a minimum, bring a lightweight, breathable softshell glove for the ascent, and for the descent, I brandish a pair of warmer more traditional insulated and waterproof ski glove. If gloves get wet, I toss them inside my jacket to use my body heat to try and warm them dry. At minimum, this will help gloves from turning into a frozen cast and your body heat will speed up the drying process in the field.
Protecting one’s eyes in the alpine zone on a ski tour is critical. Failure to protect your eyes can lead to strained and tired eyes, snow blindness, and more long-term issues that could warrant a visit to the optometrist. I try and wear a sunglass with good wrap coverage that will cut down UV reflection off the snow and does not allow light to sneak through the bottom or sides of your shades. Traditional “glacier glasses” is overkill, prone to fogging up due to poor ventilation and only allowing a small amount of visible light through, hindering your sight. Ski goggles will always end up in my pack, sometimes with both a high and low visibility lens, depending on weather conditions. But most of the time while backcountry skiing, I will only bring the low-visibility lens and use my sunglasses to protect my eyes on high visibility days.Frequently I opt for just the sunglasses on both the ascent and ski descent for ease and efficiency.

Backcountry powder skiing on a storm day
Additional cranial accessories include hats, helmets and neck gaiters. The ski helmet debate is something I leave to personal preference, and in recent years I have been more apt to wearing one for descents or when clear or overhead hazard is present such as rockfall. It is worth mentioning, most modern ski-helmets have added insulation and can overheat an uphill traveler. In most conditions, this guide prefers to wear larger brimmed ballcap and utilize the hoods attached to other garments already being worn. This protects against UV light and is a more easily adjustable. I also carry a knit hat, without a pom-pom if I plan to fit it under a helmet, for protection and warmth against harsh winter environments. Lastly, and perhaps most importantly, is the neck gaiter. The Buff brand neck gaiters are lightweight, moisture wicking and multi-functional. They may be worn just around the neck to help warm the jugular artery, this can help keep the face, neck and chest warm. This garment can also be pulled up over part of the face to protect in particularly cold backcountry conditions.
One can easily discern there is not a “right or wrong” way to pack and layer for a day of backcountry skiing. It is nice to have a general system and be able to add or remove items based on conditions. Factors I often think about when preparing for a tour include weather, forecasted snow conditions, ski tour length, level of commitment and strenuousness, terrain type, skier ability, and personal risk-tolerance. My backcountry skiing kit is always fluid, as the season ebbs and flows. From the shorter, colder winter days of January and February to the longer, sunnier days of spring ski mountaineering, conditions will dictate my decisions. While one may have a few mainstays like a puffy jacket and sunglasses, and buff. It is worthwhile to always check conditions and make decisions based on your individual needs, the forecasted conditions and the proposed ski tour plan for the day.
Looking for professional instruction in backcountry skiing & guided ski tours? Check out our:
Lake Tahoe Intro to Backcountry SkiingCourses & Guided Tours
Mammoth Lakes Intro to Backcountry Skiing Course & Guided Tours
by Kevin McGarity
IAG lead mountain guide
