Climbing California’s Mount Shasta
/Climbing Mount Shasta is the goal of many an aspiring mountaineer. Soaring to 14,179 feet right above busy interstate 5 in the Southern Cascades near the Oregon border, Mount Shasta is California’s 4th highest peak and holds the state’s largest glaciers. From any aspect it is an impressive sight to behold, a mountain that is actually larger in mass than Washington state’s Mount Rainier. Standing atop Shasta, “the Everest of California”, is an experience all will deeply appreciate, from the first timer to the most jaded of alpinists.

Mount Shasta
Mt. Shasta is actually three mountains in one…geologically. A large stratovolcano, the three mountains that have developed over the millennia include Shastina (the Cascades 3rd tallest peak) and two peaks that make up the main bulk of Shasta. While still considered an active volcano, Mount Shasta has not had an eruption since probably 1786 when a French ship off the coast of Northern California recorded in its ship’s log a large mushroom shaped cloud in the vicinity of Shasta. Today, the only volcanic activity you’re likely to see on Shasta are the hot springs near its summit.

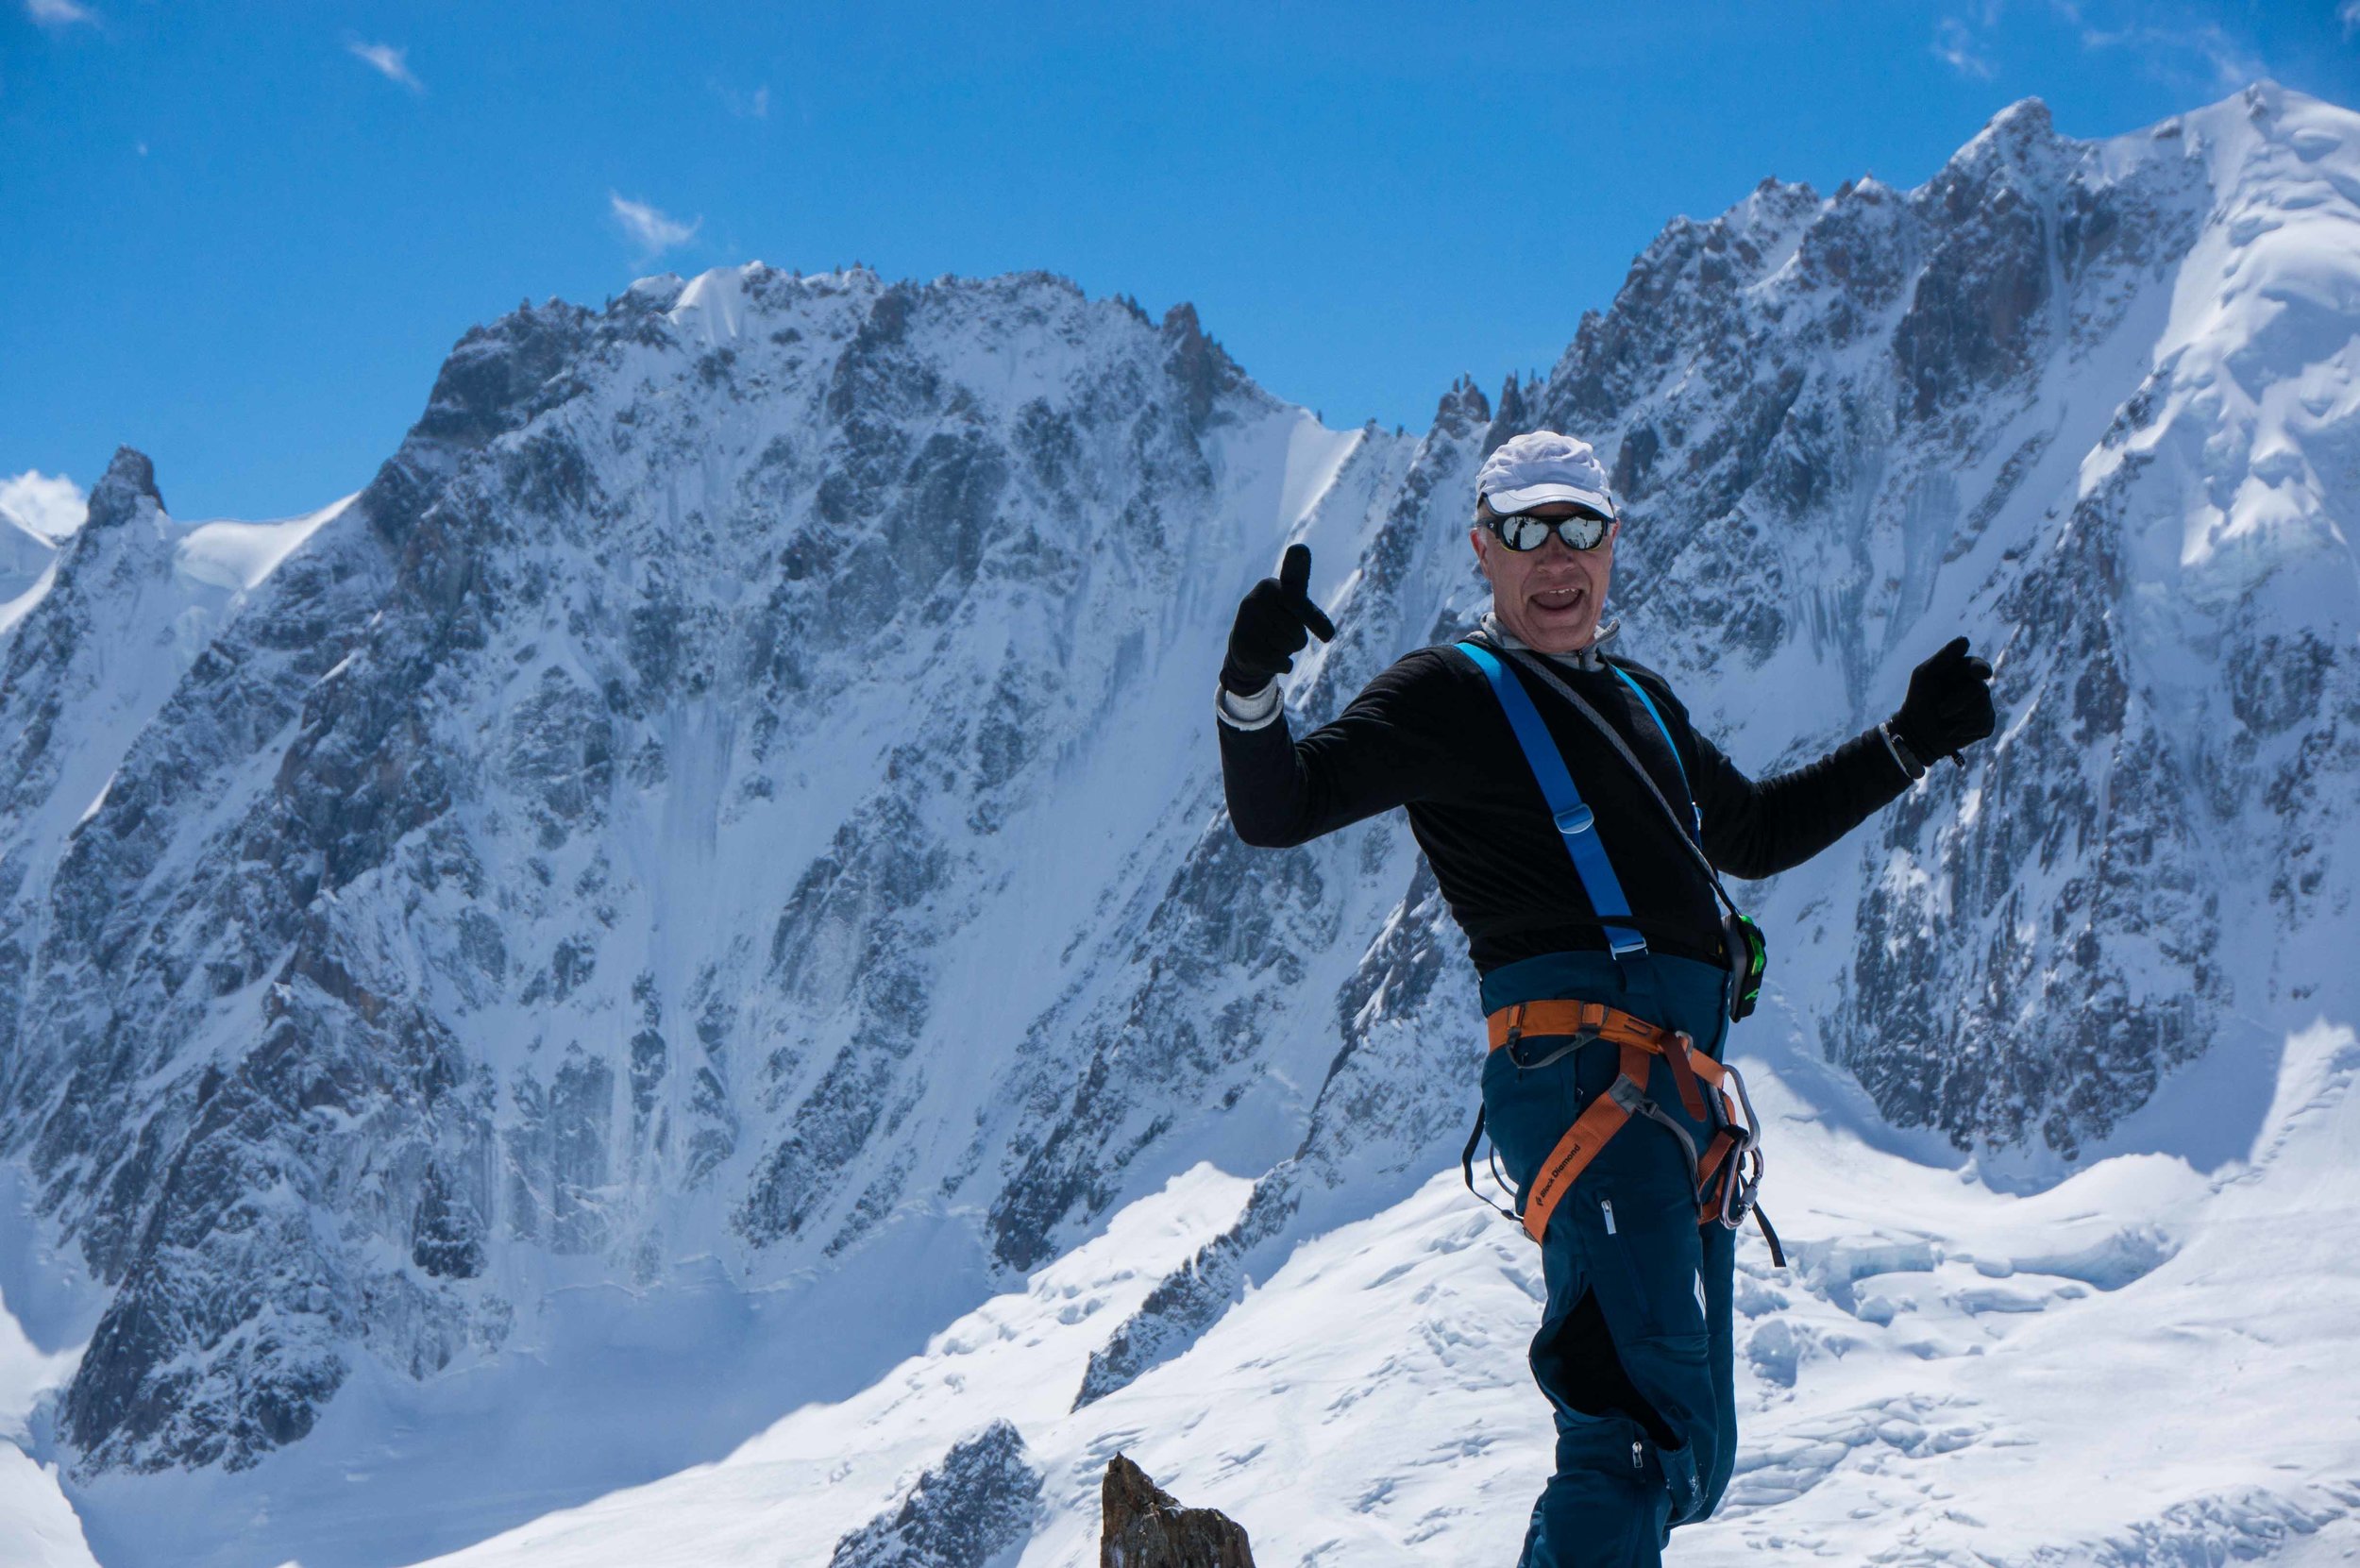
On the summit of Mount Shasta, 14,179 feet
The lore of Mount Shasta runs deep, right into the center of the mountain in fact. Legends dating back to the 1800s have it that a race of people called the Lemurians have taken up residence inside Mount Shasta. As the story goes, the Lemurians lived on the ancient continent of Mu in the Pacific Ocean and in an Atlantean style disaster, the entire continent was lost to the sea and all with it. Only the Lemurians had the foresight to see the impending cataclysm and escaped in the nick of time to North America, and then right into the bowels of Mount Shasta where they founded the city of Telos. Whether you believe the myths or not, it is generally agreed upon that Shasta is home to odd and sometimes unexplainable activity. Many spiritual groups flock to Shasta each year to pay homage and experience the mountain’s energy.

Spring Basecamp in Hidden Valley, below the West Face of Mount Shasta
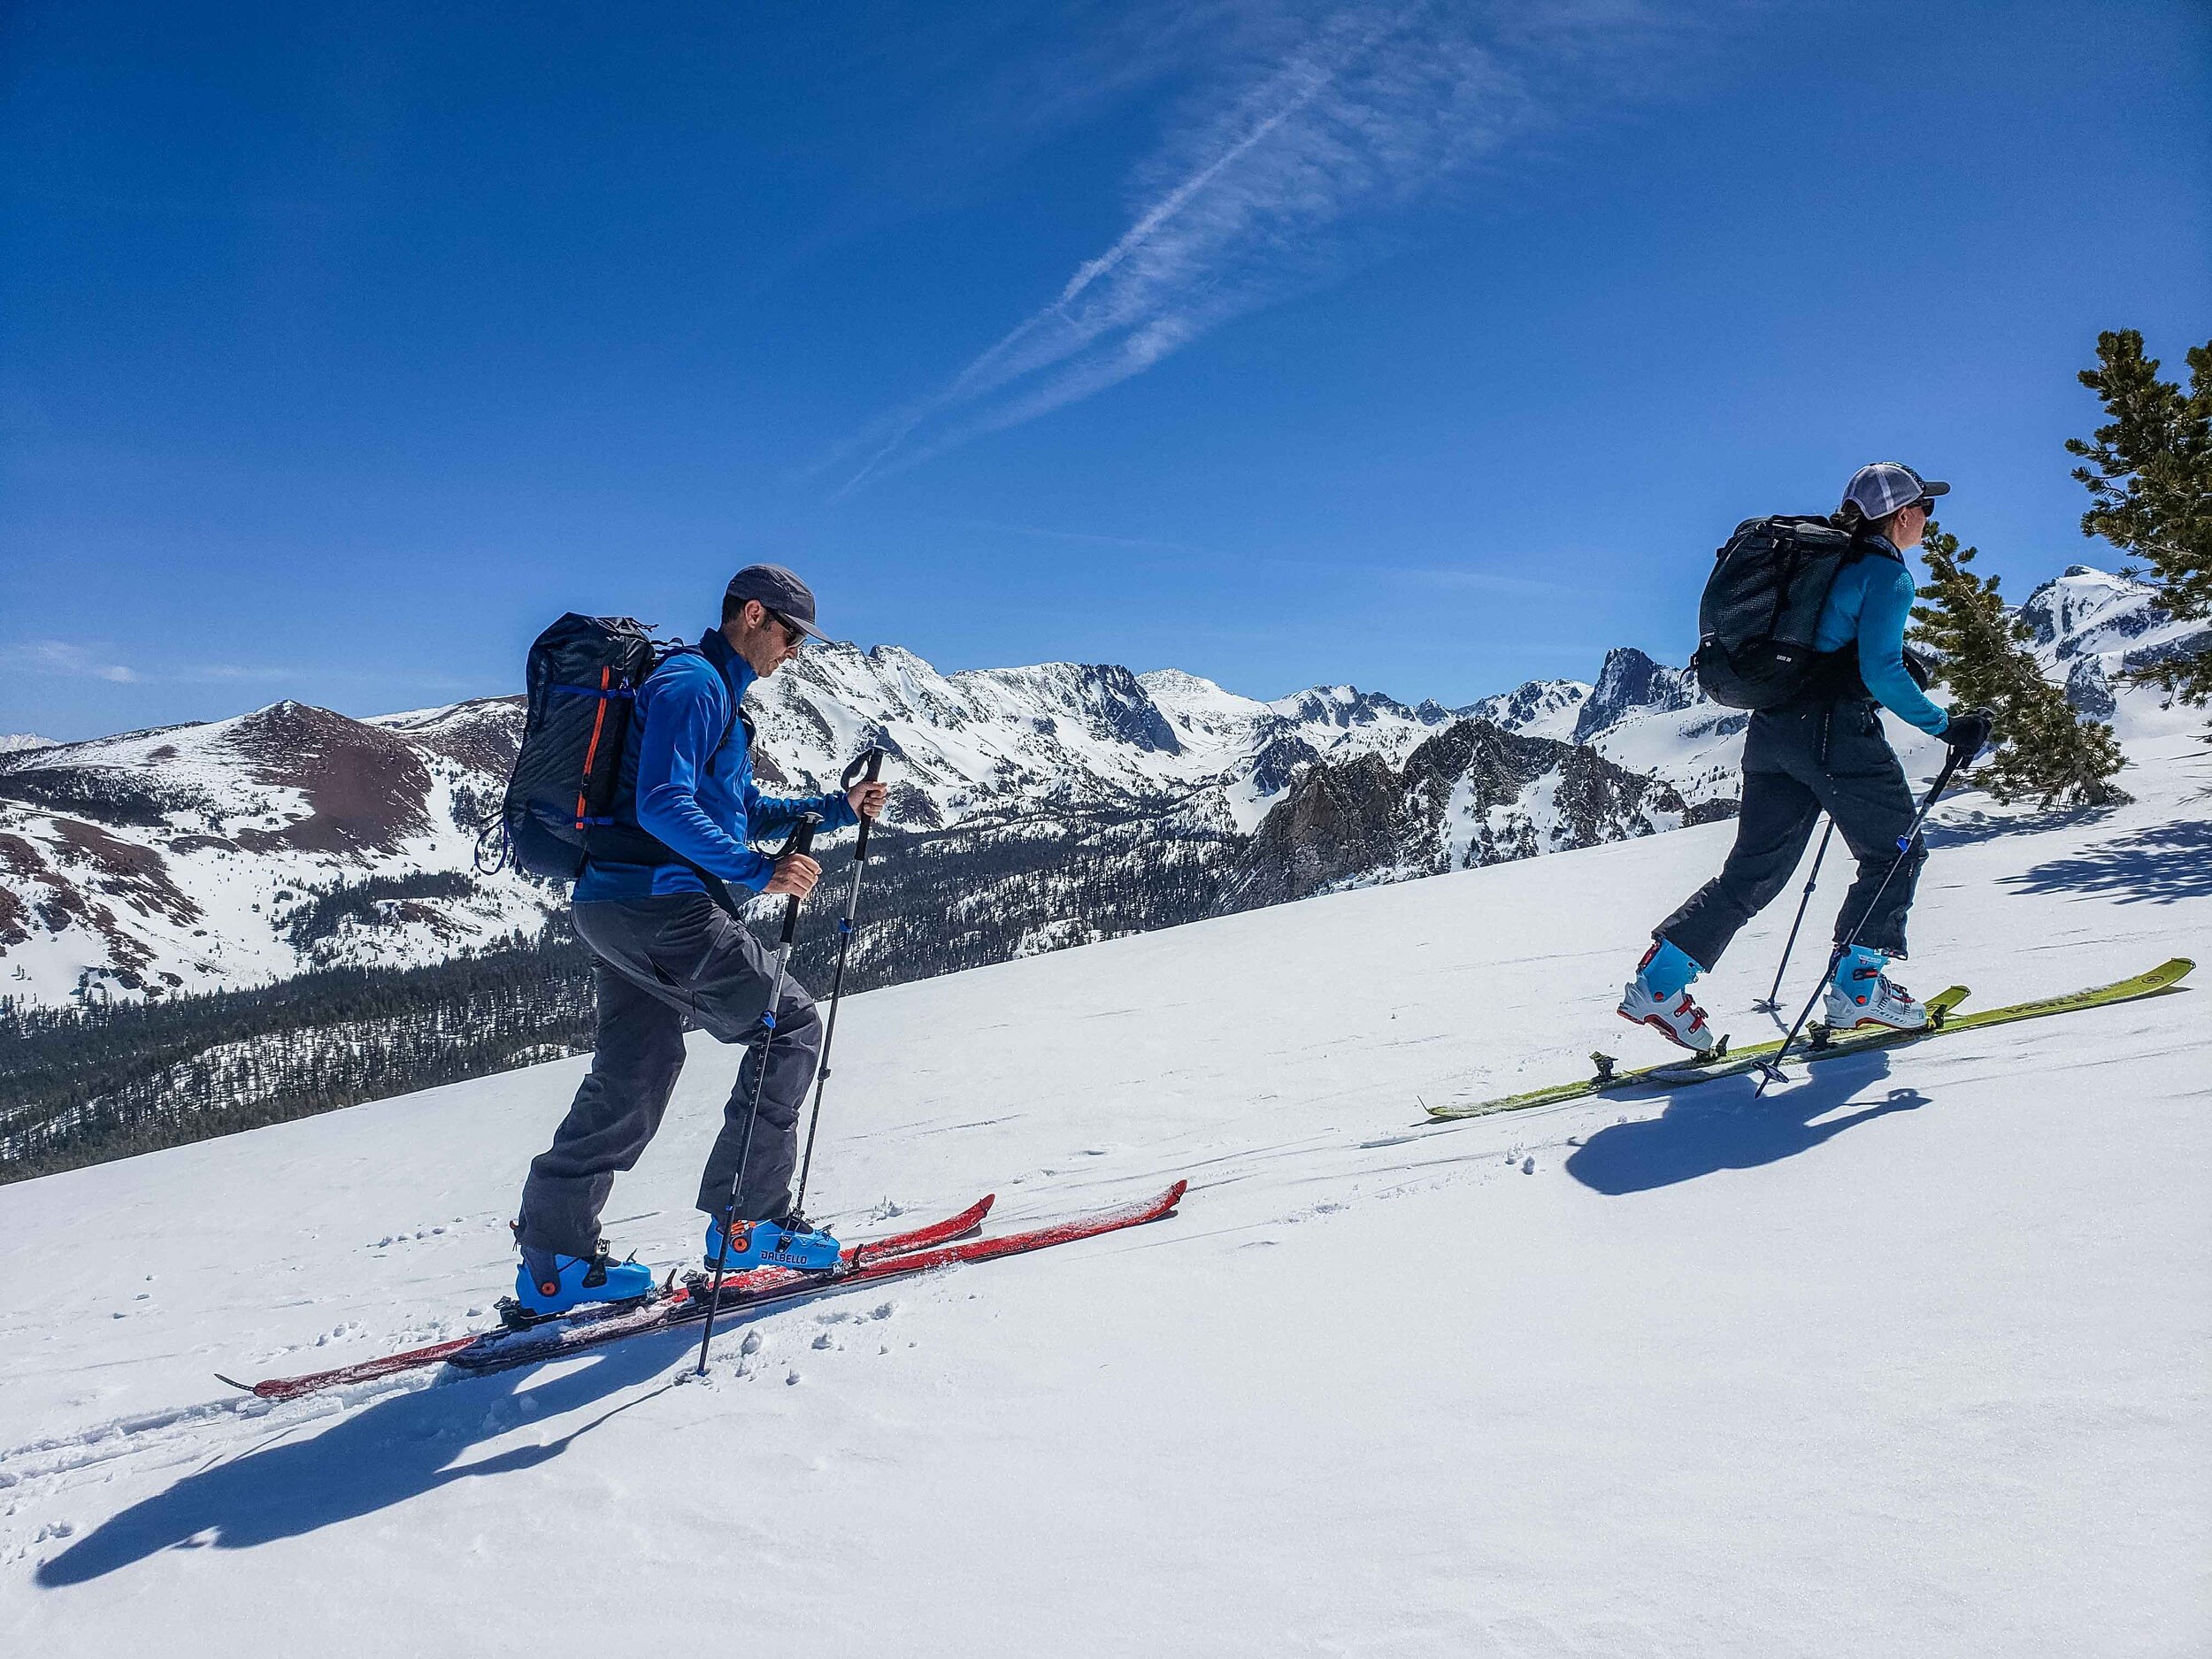
Climbing Mt. Shasta’s snowy flanks is what attracts the most attention during the late Spring and early summer months. The mountain is considered one of the best entry level true mountaineering experiences in the United States. With a non-glaciated South side, Shasta offers beginner big-mountain snow climbing routes without the added hazards of crevasses and ice falls. But that doesn’t mean it’s an easy climb! With over 7000 feet of vertical gain from trail head to summit, even the standard Avalanche Gulch route can be very strenuous and it requires stamina, good mountain sense and the use of ice axe and crampons… along with the skill and knowledge to use them safely.
Avalanche Gulch is Mount Shasta’s standard and most popular climbing route. It was first climbed in the nineteenth century by none other than John Muir over an epic two days in which he almost didn’t make it down alive (a common occurrence for Muir). Trapped alone by a sudden blizzard on the summit, Muir was forced to take shelter overnight in the warmth of the hot springs near the summit. Today, Avalanche Gulch is climbed successfully each year (with no hot spring baths) by hundreds of people each season. Most Avalanche Gulch climbers will pass by the Sierra Club property at Horse Camp, which offers a great lower basecamp and a historical cabin to check out. Higher basecamps on the route include the well-known Helen Lake, which really isn’t a lake at all. Legend has it that an early guide on Shasta was asked by his client, a woman named Helen, what the name of the nearby lake was. Glancing over at the unnamed “lake” which was really just a seasonal snowmelt pond not worthy of a name, he quickly replied “why ma’am, that is Lake Helen!”.

Climbing high on the Avalanche Gulch route of Mount Shasta
The West Face climbing route on Shasta is just a small step up in difficulty and is another entry-level route the mountain has to offer. It has a more sustained steep section than Avalanche Gulch and a more remote basecamp in the beautiful Hidden Valley. The West Face is also Shasta’s most popular ski descent. Many people choose to climb these two Shasta routes as their first big-mountain route without the assistance of a mountain guide, but many also choose to join a guided group to increase the chances of summit success while decreasing the risk considerably. On normal snow years, the West Face and Avalanche Gulch routes can get quite melted out and riskier to climb by the end of July due to a larger chance of rock fall. It is not generally a good idea to climb either of these routes when their steeper sections are completely free of snow.

Climbing the upper West Face of Mt. Shasta
Another Shasta climbing route of note is the Clear Creek route on the mountain’s East flank. Clear Creek is actually the lowest angle and least technical route on the mountain (a horse once climbed it) and can be a good choice after the snow has melted off the South side routes. However, it departs out of a remote trail head and requires good navigational skills to avoid getting lost. Later in the season most of the Clear Creek climb may be snow free and may only require the occasional use of ice axe and crampons if at all.

Climbing Shasta’s Clear Creek route later in the summer.
Beyond Avalanche Gulch, the West Face and Clear Creek, the remaining climbing routes on Mount Shasta jump up quite a bit in difficulty and are only appropriate for those with solid mountaineering experience or those accompanied by an experienced mountain guide. The North side of Shasta is adorned with large glaciers complete with ice falls and hundreds of gaping crevasses. You’ll find all the glacial features on Shasta that you’ll find on the large glaciated peaks to the North such as Rainier and Mount Baker. The largest glacier in California, the Whitney Glacier, resides here as does the Hotlum Glacier which at least until recently was one of the only glaciers in North America that was actually still growing. While all climbing routes on Mount Shasta pass through federally designated wilderness, the North side takes that a step further. It is common to climb a North side route and see no other climbers. While the South side route can be out of shape by mid to late July, the North side routes can be quite climbable right into September.

Climbing the Hotlum/Bolum Rodge on Mount Shasta
Popular North side climbing routes on Shasta include the Hotlum Glacier and the Hotlum/Bolum Ridge. An intermediate route, the Hotlum/Bolum Ridge carefully weaves a line between the Hotlum and Bolum glaciers and mostly skirts each one. It does require careful route finding, steep snow climbing techniques and enough mountain sense to know where not to go and when to turn around. Knowledge of crevasse rescue can also be important here and the route can get icy later in the season. It is a beautiful route with more exposure than the South side route and expansive views into two neighboring states.
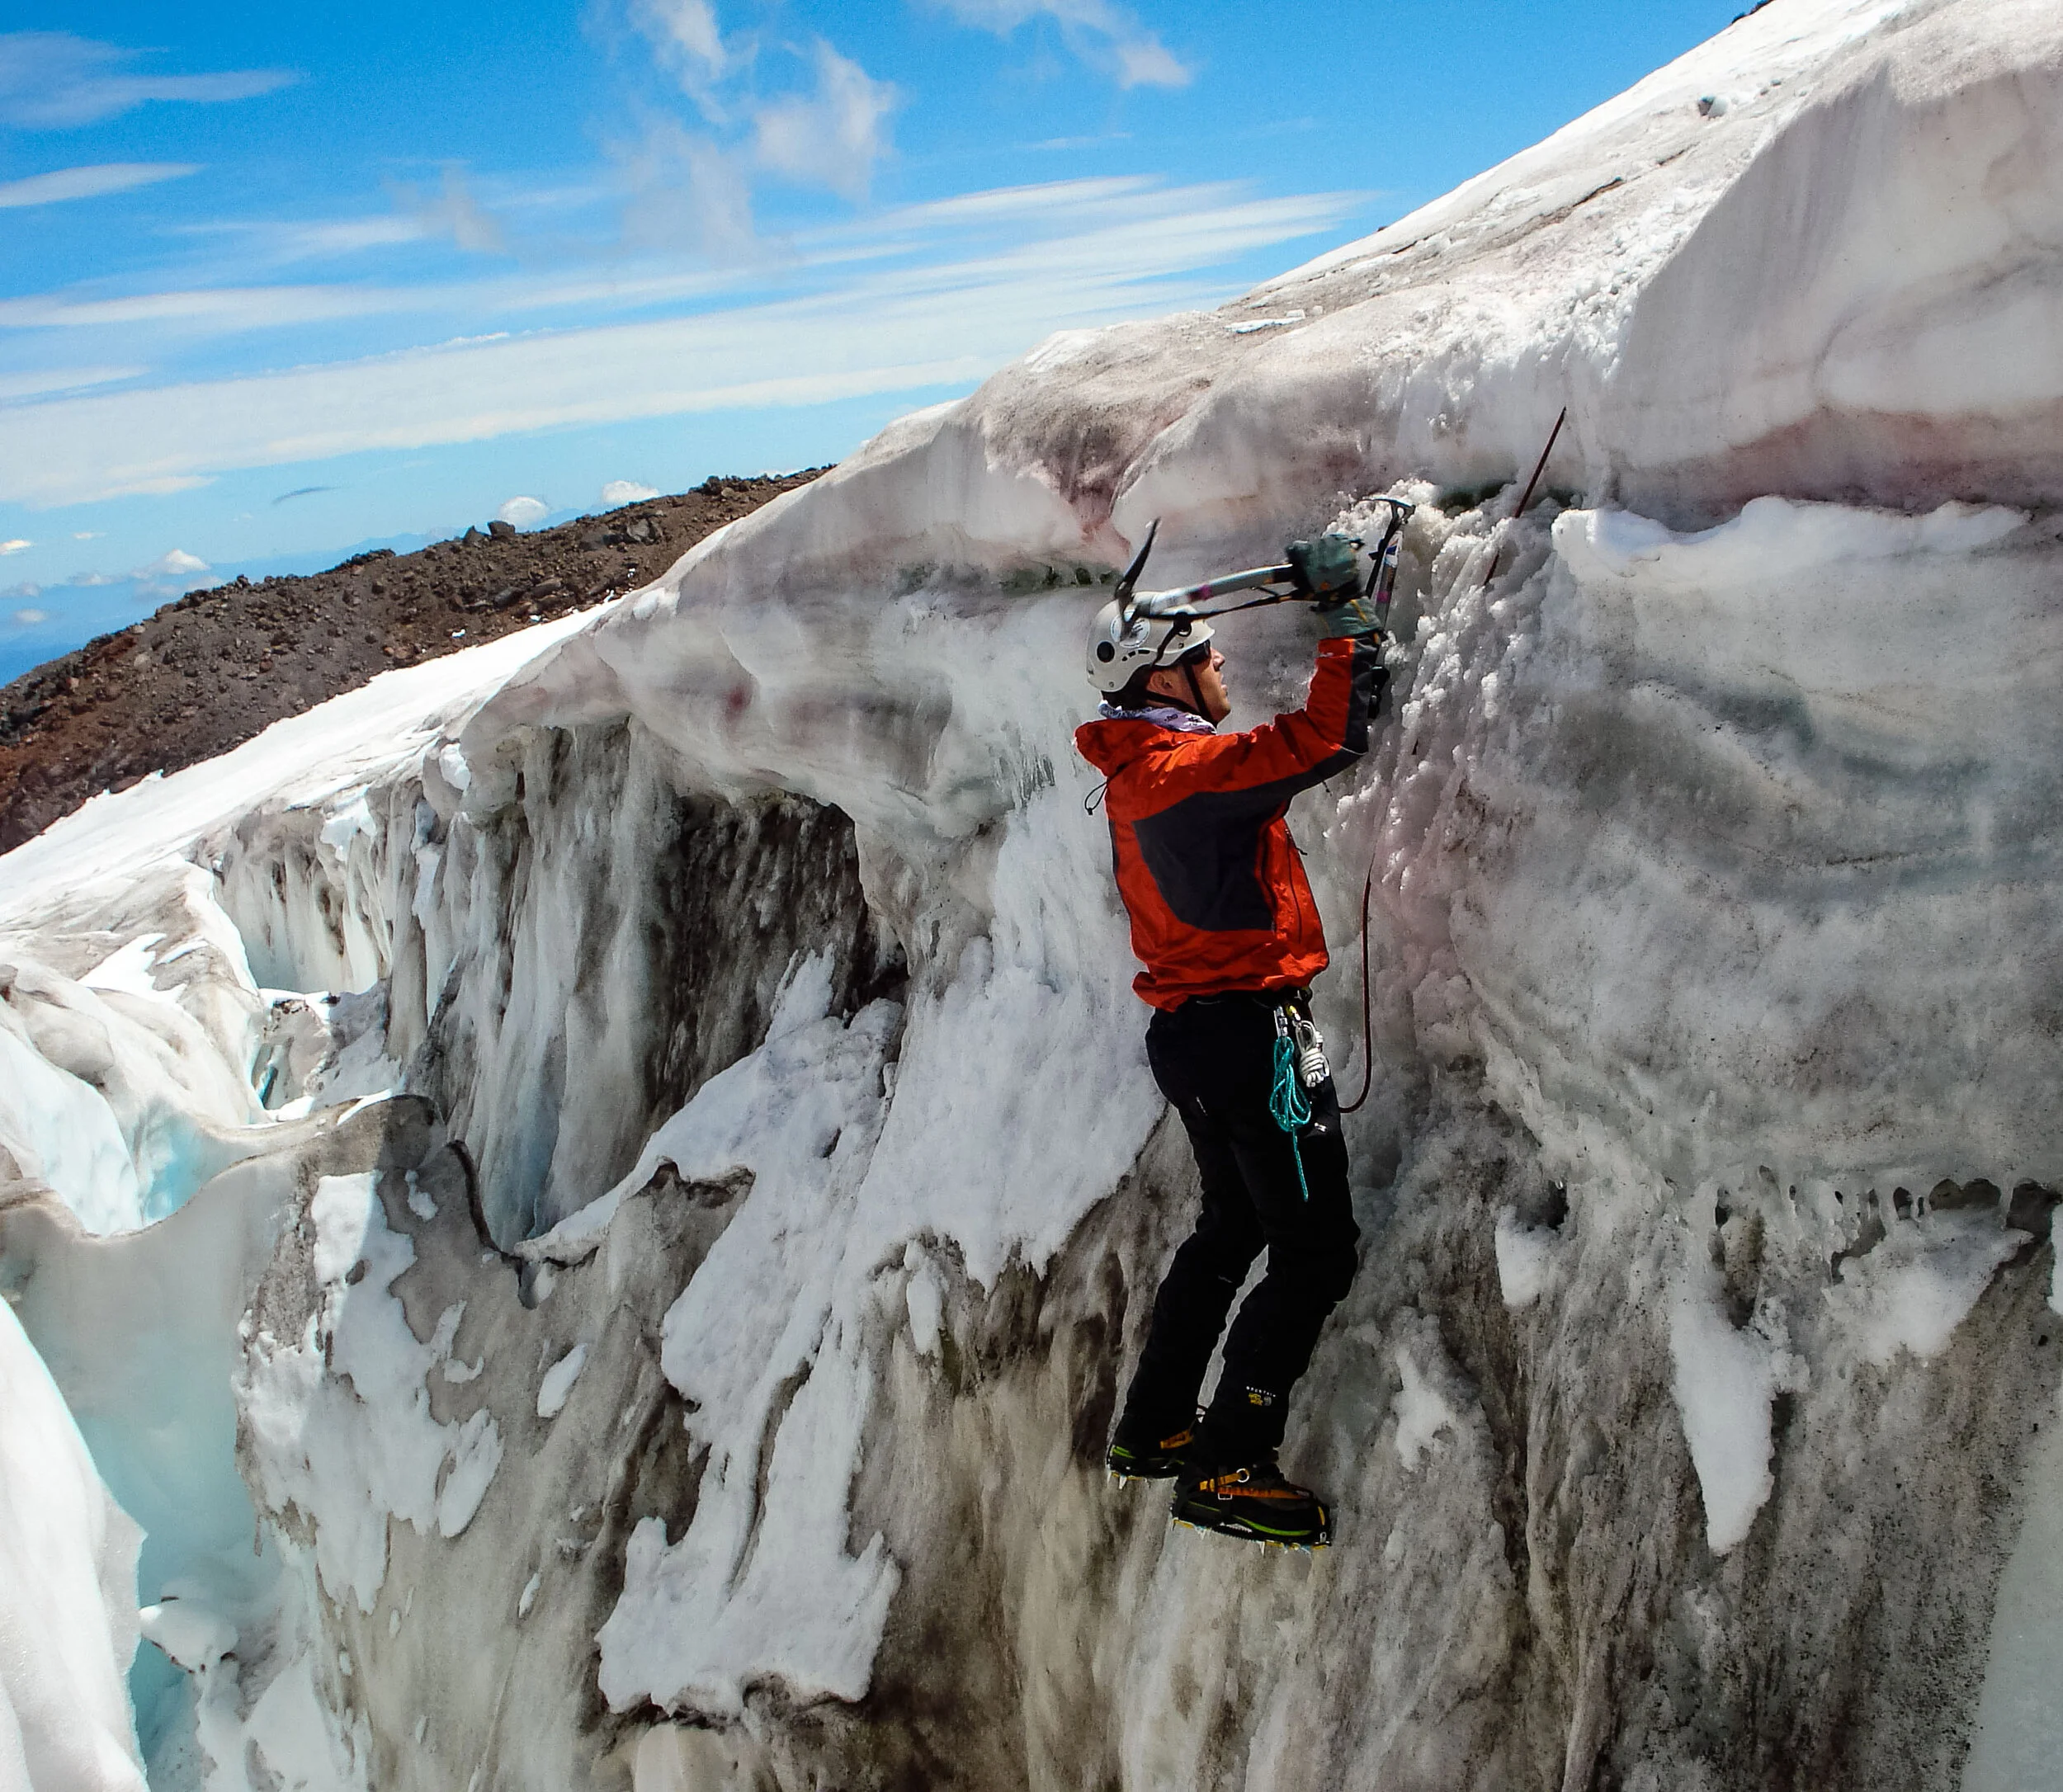
ice climbing out of a crevasse on Shasta’s Hotum Glacier late in the summer
The Hotlum Glacier climb is quite clearly an advanced level Shasta climbing route. Featuring three ice falls and yawning crevasses over 100 feet deep, this is no place for those to venture without a guide unless you have solid glacier climbing and crevasse rescue experience. It’s also a fantastic climb and a great location to learn glacier climbing skills and crevasse rescue techniques under the tutelage of a professional mountaineering instructor. Weaving past the Holtum Glacier’s tall seracs (ice towers) and around its deep crevasses in the early morning light is an experience that will stick with you for a very long time. The usual way to finish the Hotlum Glacier route is via the upper Hotlum/Bolum Ridge. The time of year for the Glaciated routes on Mt. Shasta is July through August after some of the winter’s snow has melted off the glacier and exposed a few of the crevasses.

Climbing past the ice falls on Mount Shasta’s Hotlum Glacier
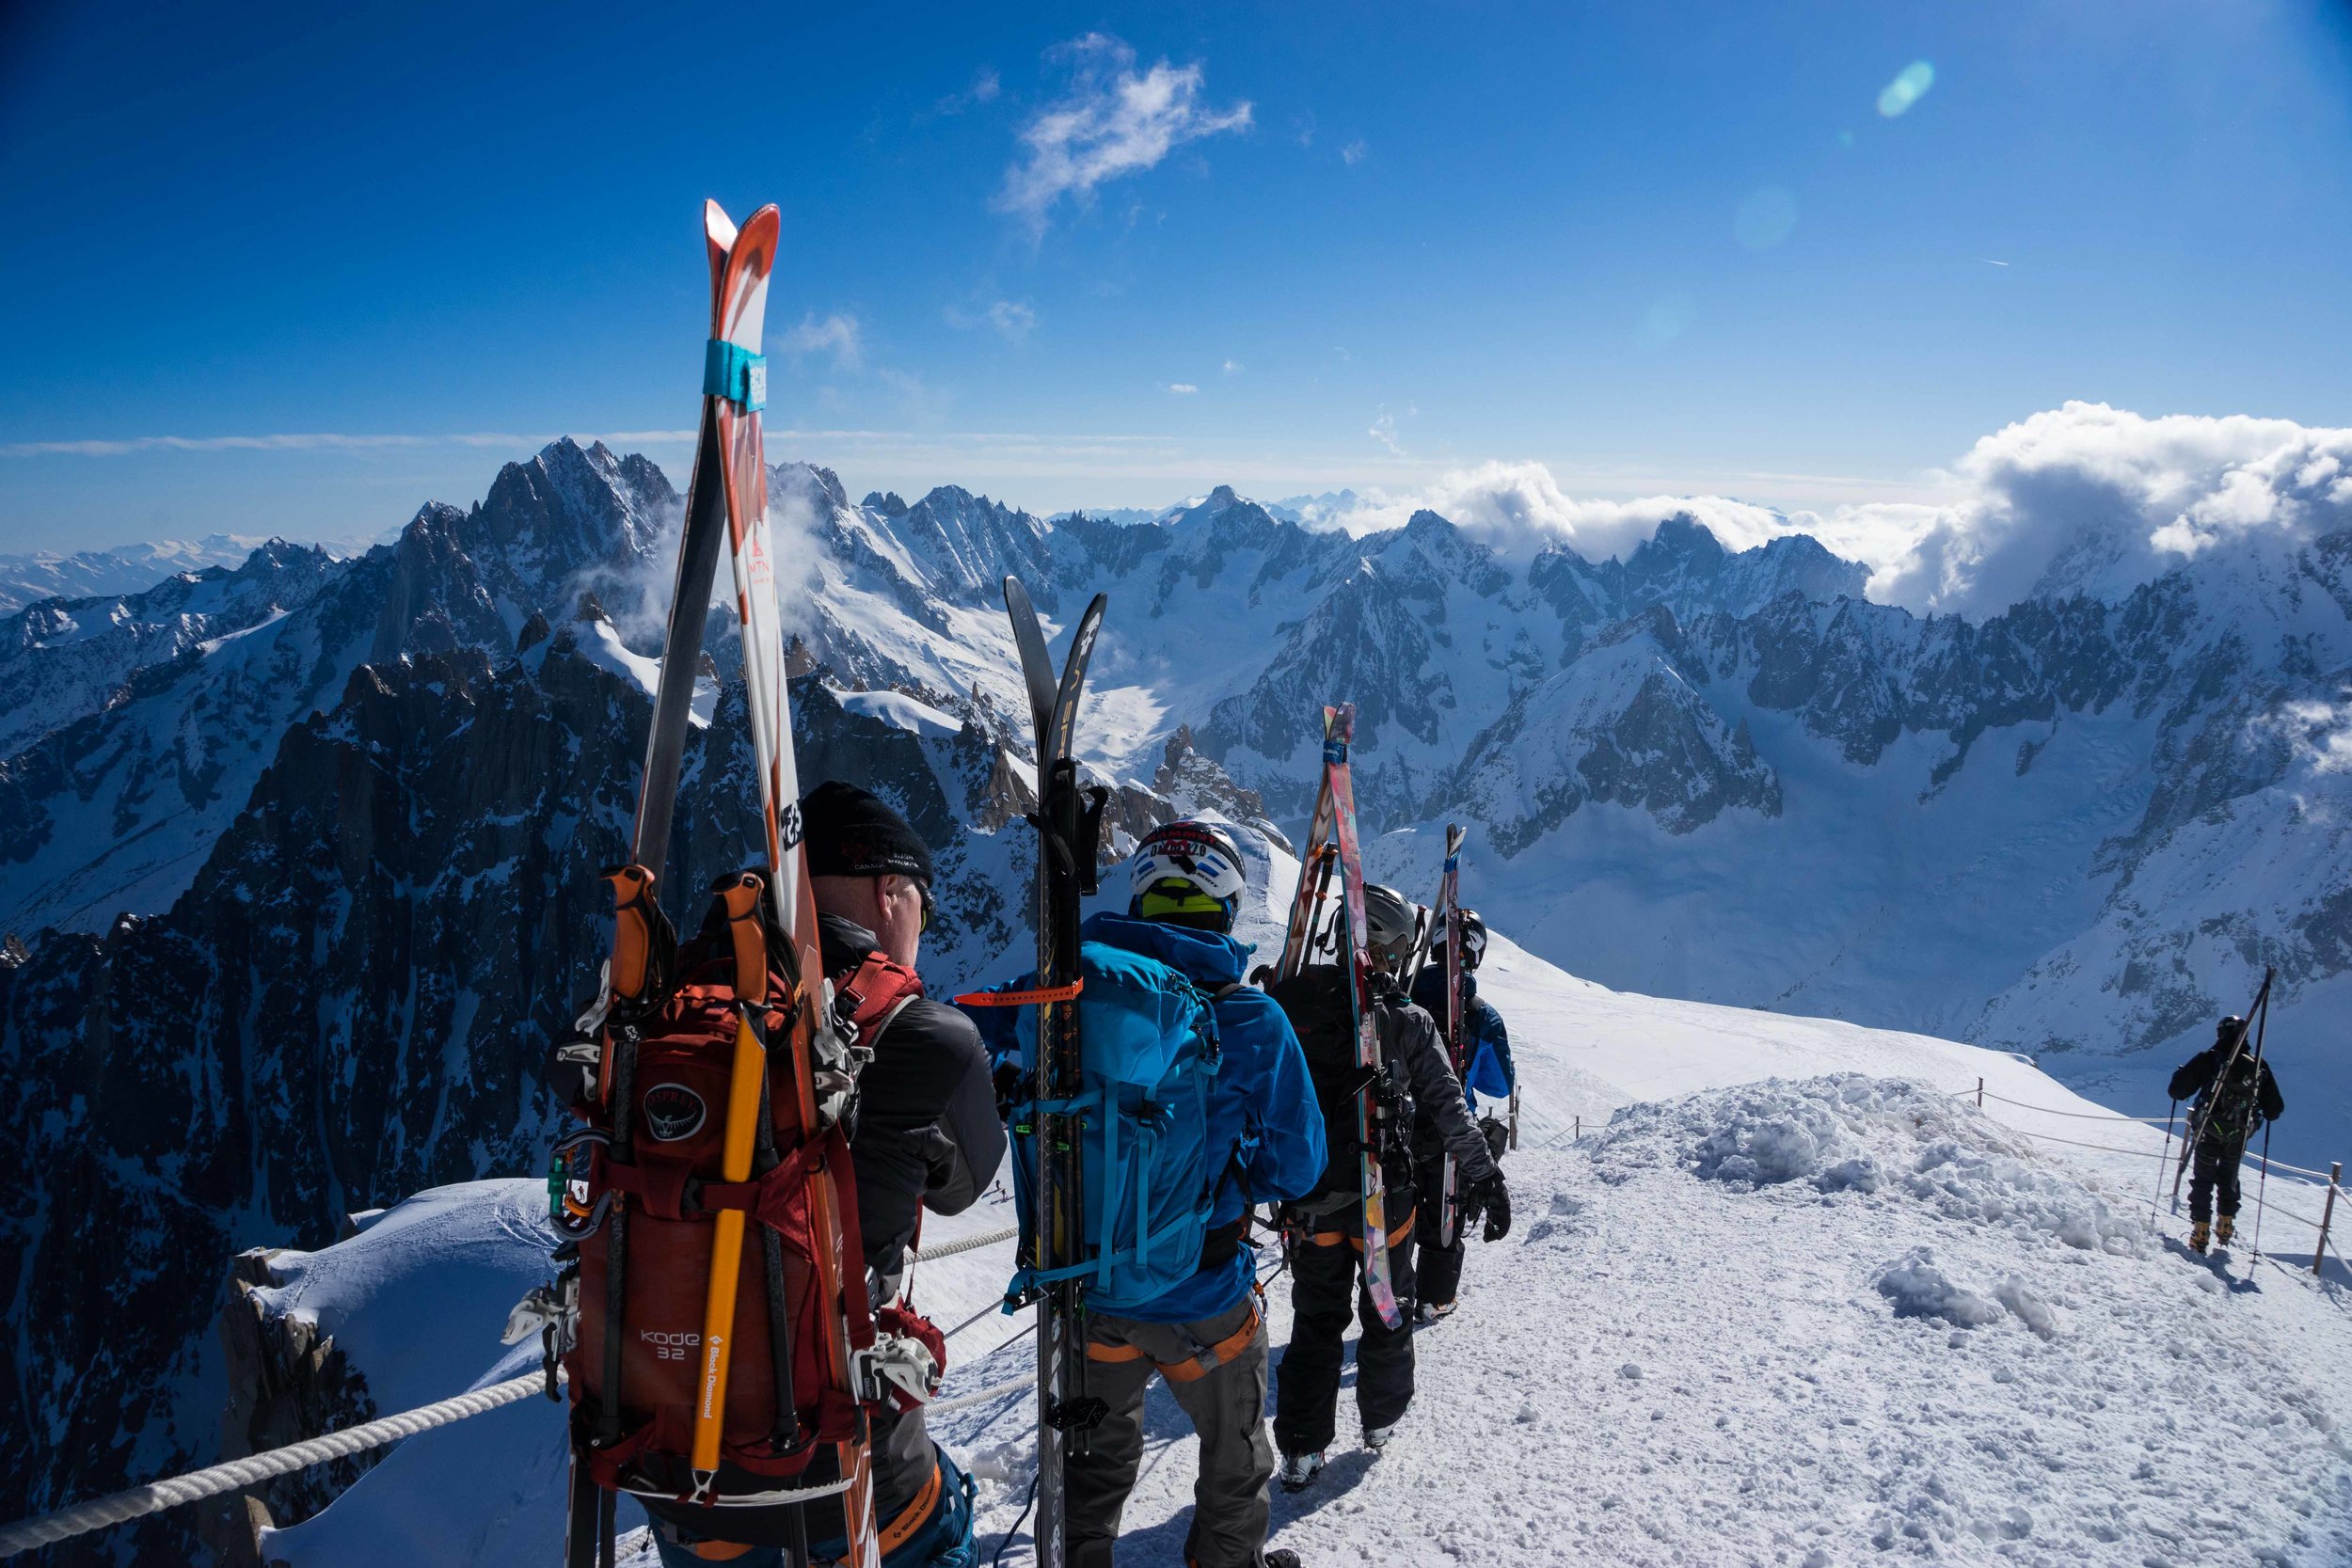
For many, the real reason to climb up Mt Shasta is to ski down it. Mount Shasta is considered one of the top five ski mountaineering mountains in the world. In May and early June it is common to find 6,000 to 8,000 foot ski descents on the mountain, often with creamy corn snow. Famous ski routes are the West Face and the incredible Hotlum/Wintun Ridge, considered by many to be one of the top three ski descents in North America. Look for more on Mount Shasta skiing in a later article.
California, a diverse state that boasts famous beaches & vast deserts, also has excellent big mountain snow climbing and large glaciers to play on thanks to Mount Shasta. Shasta is a testament to the diversity of California. So if you’re a Californian looking for a true mountaineering experience to learn or hone the craft, there is no need to leave the state. And for those from elsewhere, Mt. Shasta is truly worth the effort as it is a word-class mountaineering and ski mountaineering destination.
by IAG Owner/Director Dave Miller.
Dave has 20 years of guiding experience on Mount Shasta and approximately 80 Shasta summits under his belt.
Looking for a guide on Mt. Shasta? Check out our many Mount Shasta Climbs, Ski Descents and Courses.